Your cart
There are no more items in your cart
To make a stool with the art of DIY, you can put a number of different techniques into practice. There are various models of stool, decidedly elegant and certainly adaptable to any kitchen, are the bar stools.
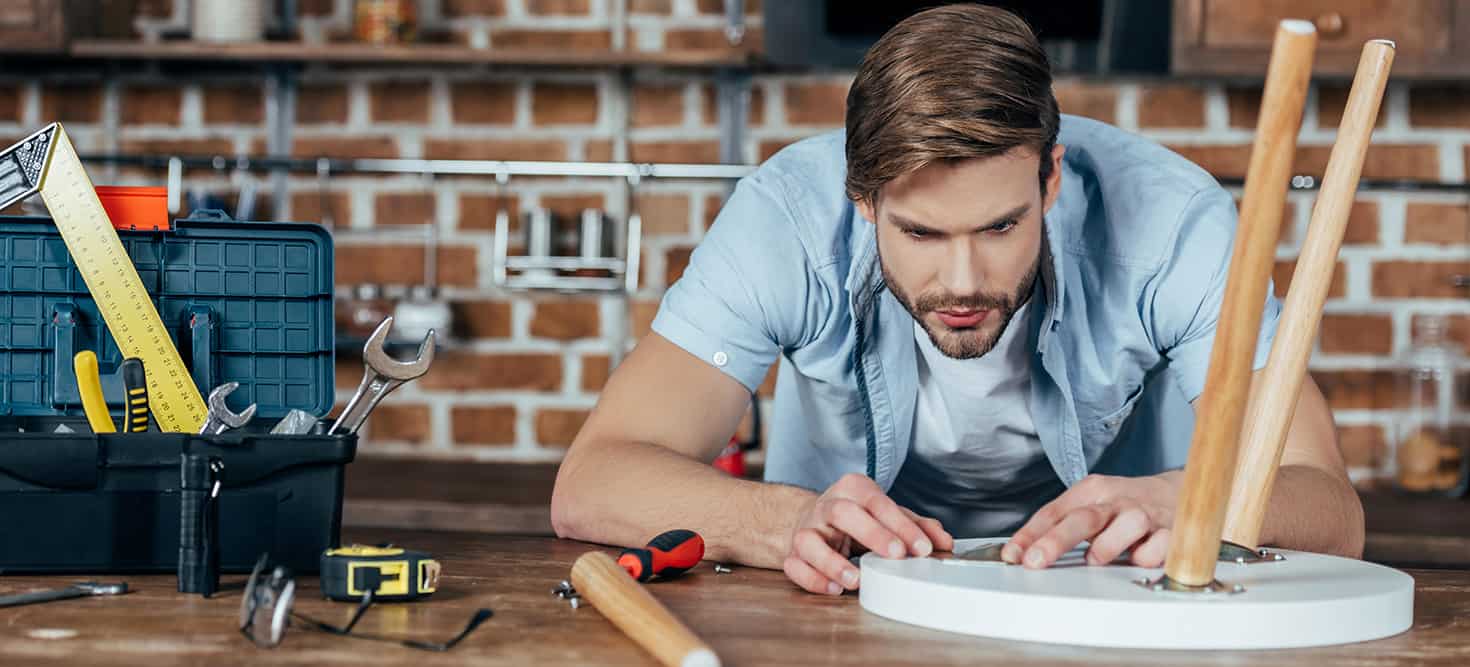
If you want to dabble in the art of do-it-yourself carpentry, one of the first things to do and try your hand at is a stool. To build a wooden stool it will not be necessary to obtain many tools and materials, for this reason, you can build a DIY stool without having any special skills or a fair experience in woodworking.
In the following paragraphs we will give you some advice on how to make some stool models, which you will be able to adopt in your home furnishing once the work is finished. Follow our instructions carefully, and once finished the work, you will be proud of your DIY stool.
How to build a three-legged stool
To build a three-legged stool in complete autonomy and with the art of DIY, you will first have to draw and cut out the seat; you will have to go and draw on the surface of the wood, the shape of a circle: use a piece of plywood with a diameter of about 30 centimetres. The piece of plywood you will use should be about 5 centimetres thick. After you have made the drawing of the circular shaped seat, you can proceed to cut it out using a hacksaw.
Once you have cut out the seat of your DIY stool, you can start making the legs. For this operation, you will have to retrieve a rod necessarily characterised by a circular section; the diameter of the rod must be about 5 centimetres. Cut the rod into three parts: the size of each leg must be compatible with the height you decide for your stool. The height we recommend is no higher than 50 centimetres.
At this point, with the help of a compass, you will have to make circles on the base of the seat: each circle must have a diameter of 22.5 centimetres. Each circumference made with the compass will then be divided into three equal parts; then you will have to make a hole with a drill on each corner of 4.3 centimetres. Drill the hole perpendicularly to the ground, positioning a block under the middle of the seat. You can adjust the height of the block to determine the angle of each leg.
When the holes are complete, you can start inserting the legs into the seat of the stool. For this operation you will need sandpaper, a cutter and a cutter to reduce the diameter of each leg from about 7.5 cm to 3.75 cm. Once you have inserted the legs at the base of the seat, proceed by putting glue in the holes before inserting and permanently fixing the legs. The points, which will protrude slightly from the seat, must be ground with the utmost care (they must be perfectly in line with the surface of the seat).
Finally, to complete the work, carry out the finishing touches: you can, for example, paint your stool with the colour you prefer or simply give a coat of impregnating solution.
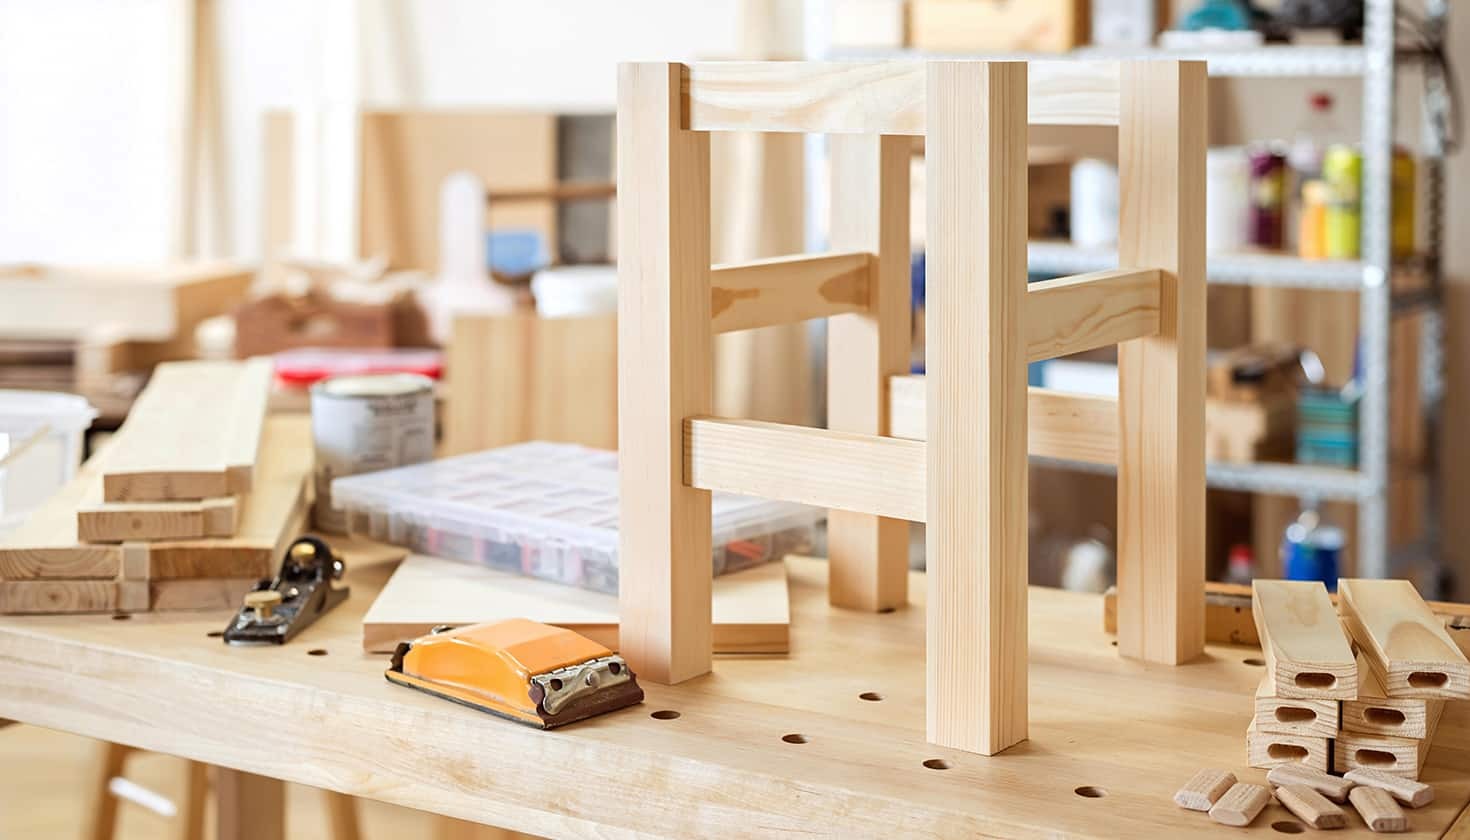
Building a wooden bar stool
For the construction of a wooden bar stool, the procedure is not very different from that described in the previous paragraph. Therefore, follow the procedure illustrated above, with simple structural measures. Our advice, for the construction of a bar stool, is first of all to draw and carve a square or circular base, wider than that of a three-legged stool.
On the base you will then have to make circular or square section holes, depending on which shape you decide to use to make the stool legs (circular or square section). Obviously the legs must be cut more than 50 centimetres in size and must be four (like the holes made). Bar stools are in fact characterised by a relatively important height.
For the fixing procedure of the legs, you will have to carry out the same grinding and fitting operations as previously illustrated. Finally, to complete your bar stool, you can also opt for the varnish and decorative style you prefer.
Build a bar stool with pallets for your children
The pallet is today a material adopted for creative recycling, of great tendency; here is how to realize in a few simple moves, a stool in pallet. If your children still can't reach the right height to look out the window of the house, or to access the sink or the kitchen shelf, a small pallet stool could be the perfect solution to solve the problem.
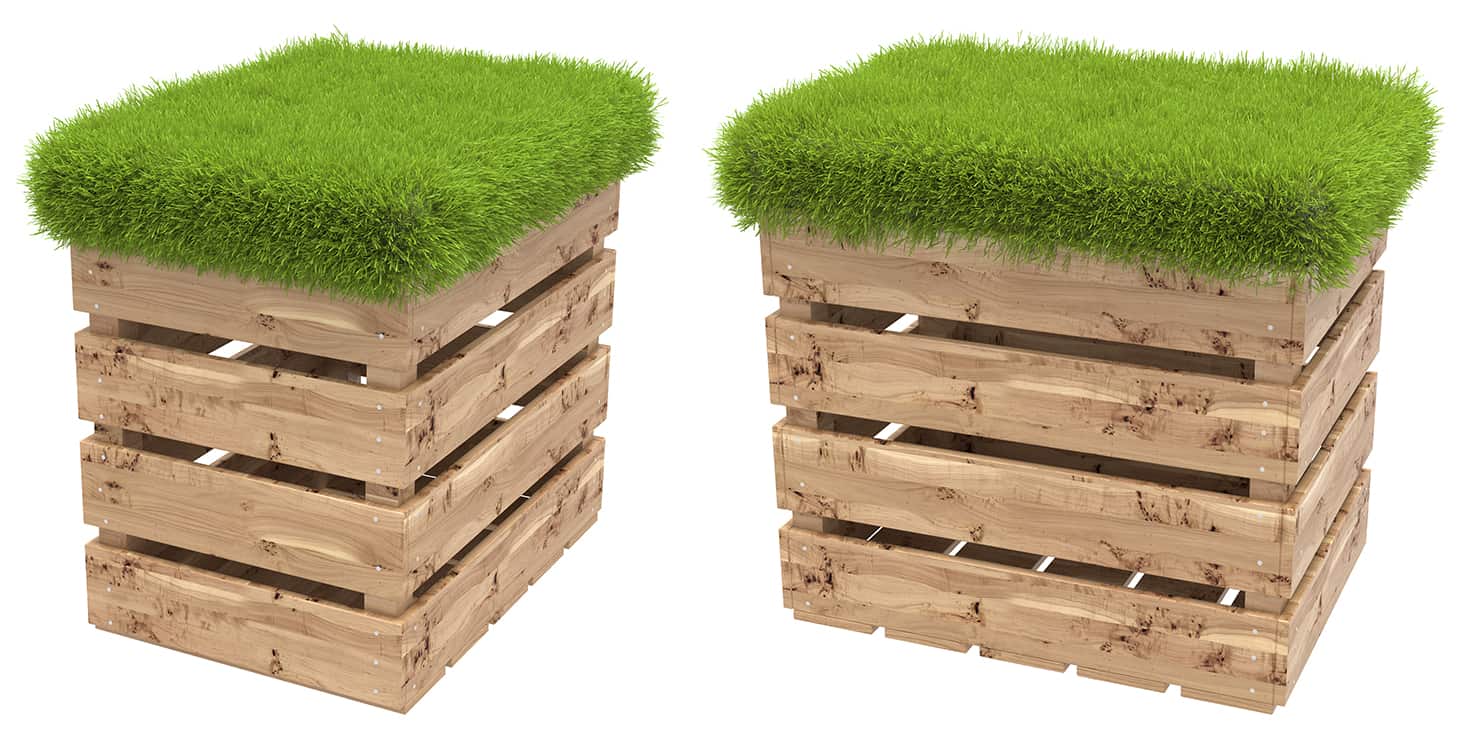
The first operation to be carried out will be to extract the boards from the pallet pallets.
To make a pallet stool, you will need a hammer, a lever, a saw, a drill, screws, a tape measure for measuring the boards and finally, of course, a pallet. When you have removed each single plank from the pallet (be very careful in this phase), you will need to cut the planks in the following sizes: you will need 4 planks measuring 35 centimetres to make the first side (A) of the stool; you will also need to cut another 4 planks measuring 25 centimetres for side C and finally 4 planks measuring 30 centimetres to make the legs of the stool. Finally, you will have to cut three 35 centimetre boards to make the seat. In this way, by assembling the boards you can make a very useful stool, especially for the needs of younger children.
If you have followed our advice carefully, building a stool for children will be a pleasant job and will give you a lot of satisfaction, as well as being useful. Now you can start to realize your project for a wooden stool, after having carefully read our advice and having understood how to make a DIY stool. The next step, once you have mastered the art of carpentry and woodworking, will be to build a folding wooden stool.