Your cart
There are no more items in your cart
- Matching furniture
- 0 likes
- 655 views
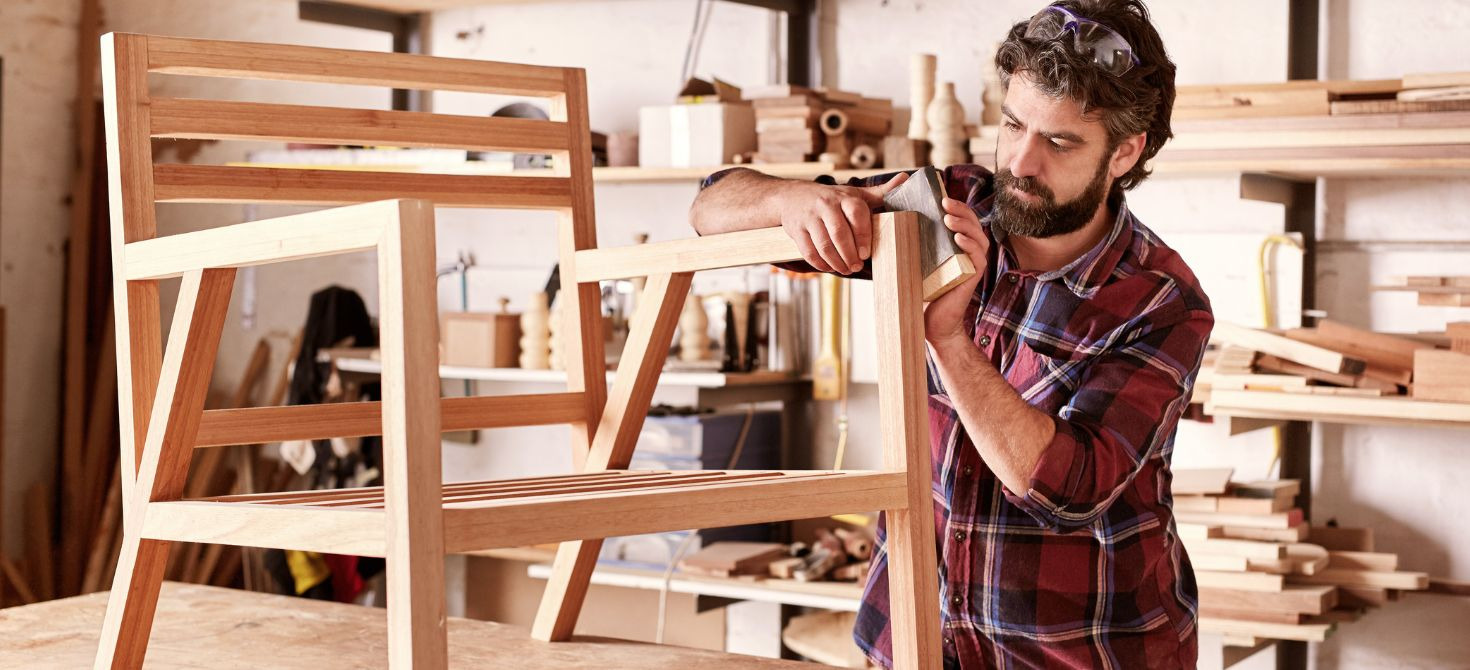
Wood carving is a fascinating art that can transform your outdoor space into a unique and original place. In this article, we will explore how to make a wooden garden chair with artistic carving. Dive into a world of creativity and craftsmanship and discover how to transform a simple wooden log into a functional work of art for your garden.
First, the selection of wood is crucial to the success of the project. Weather-resistant hardwoods such as oak, locust or red cedar offer a rustic look and exceptional durability. However, you can also opt for softwoods such as pine, although they are more susceptible to resin. We recommend selecting a trunk with roots, as the base expands downwards, increasing stability.
Carved wooden chair: how to do it
Now, let”s get to the heart of the construction of the artistic wooden chair.
- Cutting the back and seat:
Let us begin this exciting journey into the art of wood carving. First, we take measurements on our log and mark the areas where we will make the cuts. We draw a straight line on the top to establish the position of the backrest. To ensure that the chair is comfortable, we tilt the back slightly and make partial cuts to facilitate future work. - Cutting the base opening:
We now move on to the base opening. We use a spirit level to mark the area under the seat. Here, you have the freedom to customise the angle of the cuts but remember to keep stability as a priority. We start with a cut parallel to the surface of the seat and then make a cut slightly angled upwards. - Cutting the front part of the base:
We continue with the cutting of the front part of the base. With the help of the spirit level, we draw a line slightly inclined towards the centre of the seat and proceed with a precise cut. - Cleaning cuts on the base:
Now, let”s look under the chair. We turn the piece of wood upside down and place it on a stand to work comfortably. Here, we make two cleaning cuts on the opening of the base, one on each side. This step is essential to achieve smooth edges and a flawless appearance. - Cutting the back of the backrest:
Let”s return to the backrest and focus on the back. We flip the piece of wood over again so that the base is at the bottom. Now, we make a cut following the oblique line we had previously traced. - Completing the cuts:
To complete the cuts, we return to the upper part of the chair. Complete the initial cuts that we had made partially so that we can easily extract the remaining block of wood from the chair. Finally, we make oblique cuts around the seat to round off the edges and give an artistic touch to our creation. - Sanding and protective waxing:
We come to the final stage. To maintain the quality and appearance of our wooden chair, we carry out sanding to remove any imperfections, especially if we have chosen a variant without bark. To protect the wood from the elements and make it shine, we apply a coat of hard wax oil. Now our wooden work of art is ready to shine in our garden.
Create a wooden chair for your outdoor space
Discover the art of creating wooden garden chairs with artistic carving.
This creative project gives you the opportunity to customise your outdoor space with style and functionality. Shape the chairs to your personal taste, transforming simple wooden logs into unique works of art.
These chairs not only add elegance and originality to your garden or terrace, but are also a reflection of your creativity.
Always remember to work safely, using appropriate protective equipment, to fully enjoy the art of wood carving and proudly display your one-of-a-kind creations. Let these wood-carved chairs become the focal point of your outdoor space, captivating friends and family.
Furthermore, if you are looking for modern and elegant solutions to furnish your garden or terrace in an original and unique way, discover our models of outdoor furniture, available in various colours and materials in the online shop of tavolisedie.com.